Setting up StoreKit testing
(iOS only) StoreKit testing in Xcode is a local test environment for testing in-app purchases without requiring a connection to App Store servers. Set up in-app purchases in a local StoreKit configuration file in your Xcode project, or create a synced StoreKit configuration file in Xcode from your in-app purchase settings in App Store Connect. After you enable the configuration file, the test environment uses this local data on your paywalls when your app calls StoreKit APIs.
Add a StoreKit Configuration File
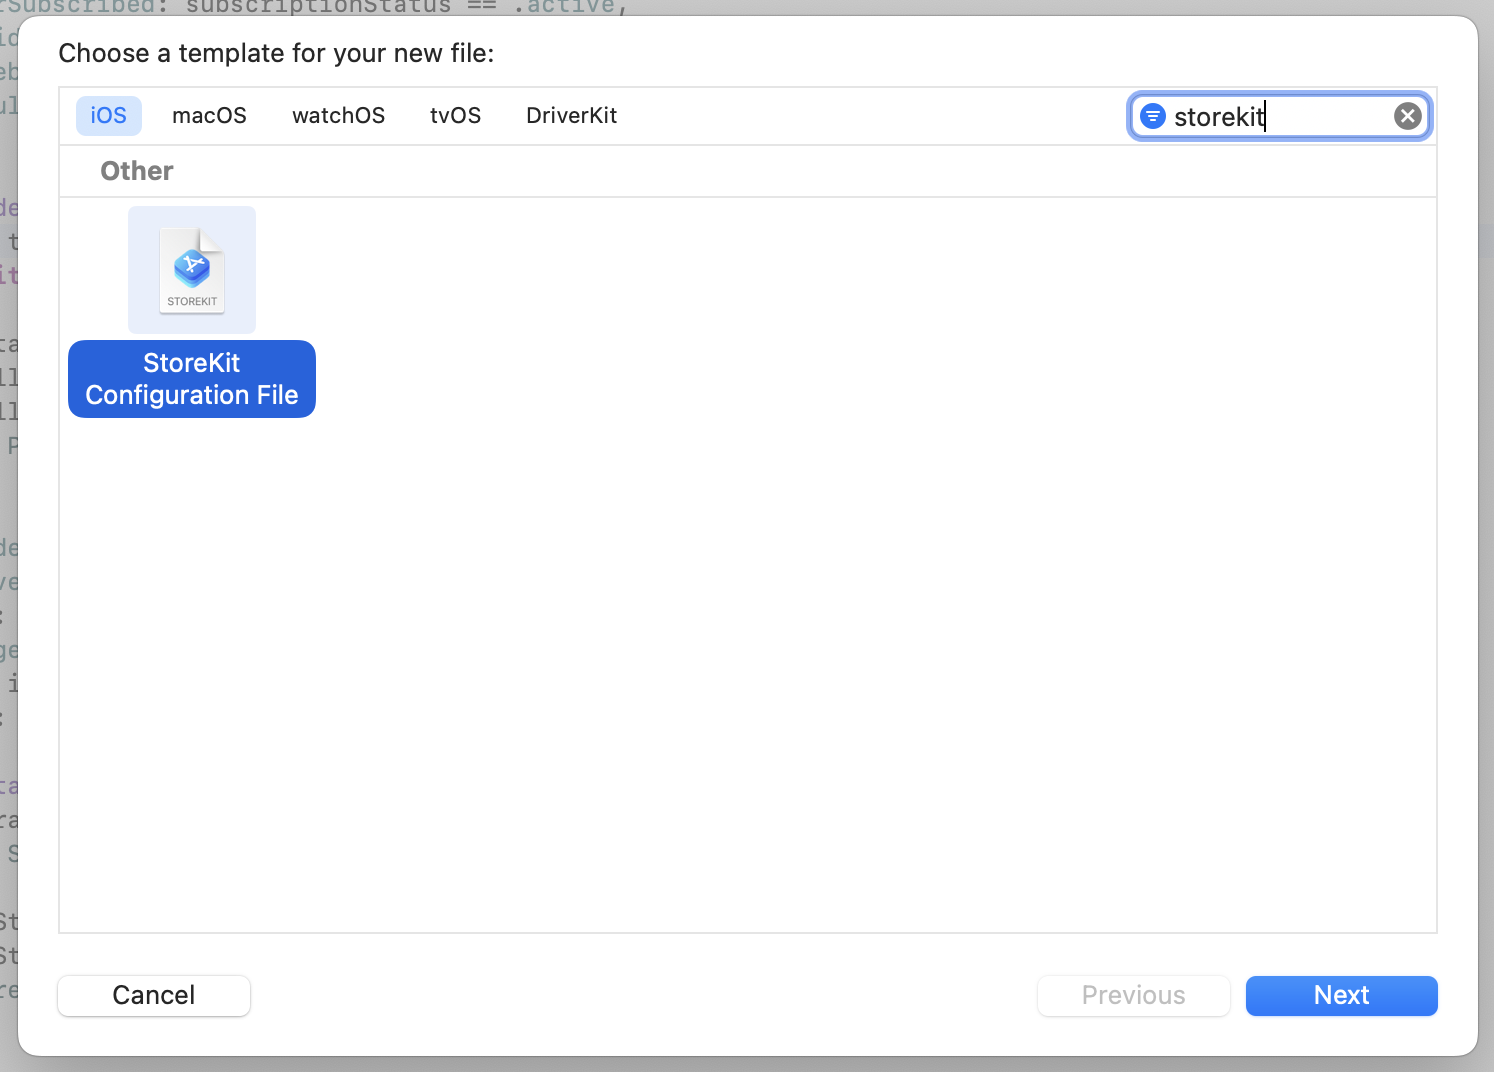
Go to File ▸ New ▸ File… in the menu bar , select StoreKit Configuration File and hit Next:
Give it the name Products. For a configuration file synced with an app on App Store Connect, select the checkbox, specify your team and app in the drop-down menus that appear, then click Next. For a local configuration, leave the checkbox unselected, then click Next. Save the file in the top-level folder of your project. You don’t need to add it to your target.
Create a New Scheme for StoreKit Testing
It’s best practice to create a new scheme in Xcode to be used for StoreKit testing. This allows you to separate out staging and production environments.
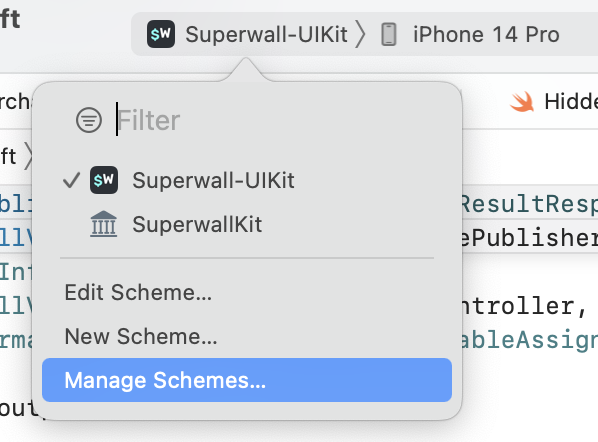
Click the scheme in the scheme menu and click Manage Schemes…:
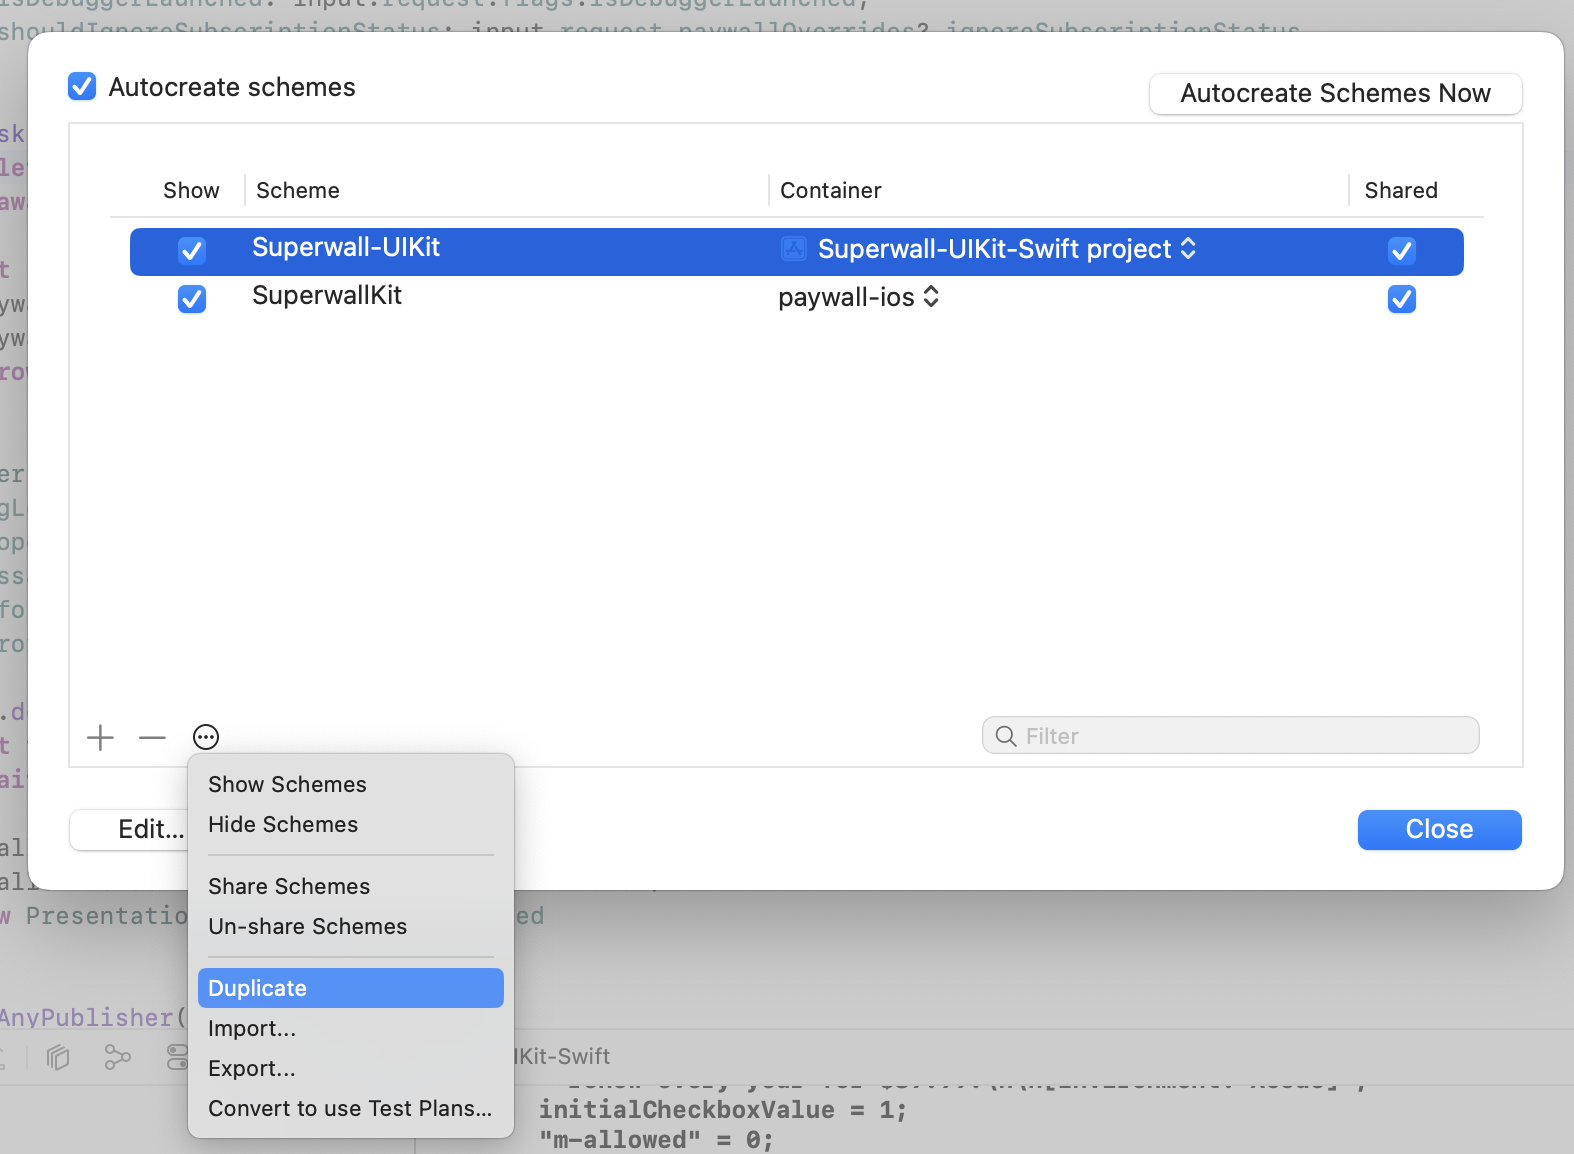
If you haven’t already got a Staging scheme, select your current scheme and click Duplicate:
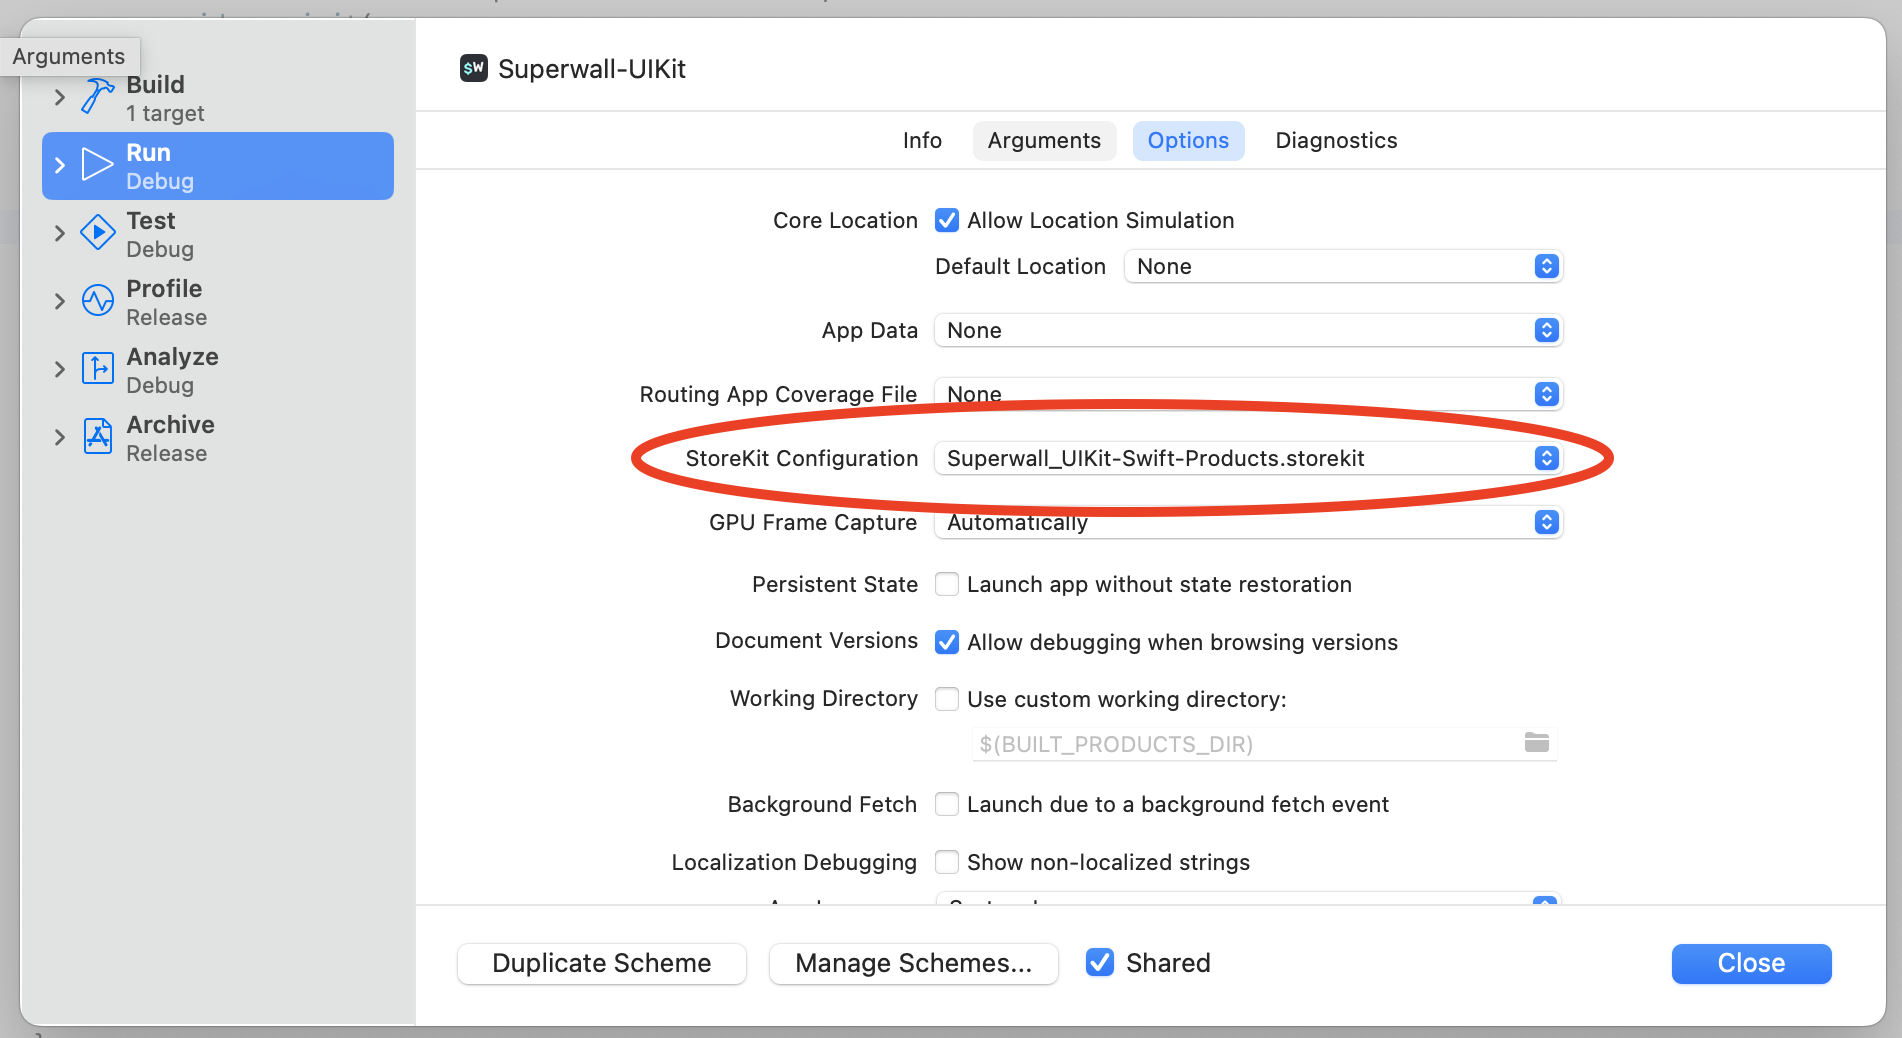
In the scheme editor, add the StoreKit Configuration file to your scheme by clicking on Run in the side bar, selecting the Options tab and choosing your configuration file in StoreKit Configuration. Then, click Close:
You can rename your scheme to MyAppName (Staging).
Setting up the StoreKit Configuration File
If you’ve chosen to sync your configuration file with the App Store, your apps will automatically be loaded into your StoreKit Configuration file. When you add new products, just sync again.
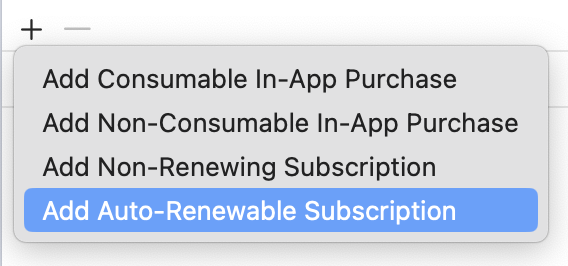
If you’re using a local configuration, open Products.storekit, click the + button at the bottom and create a new product. In this tutorial, we’ll create an auto-renewable subscription:
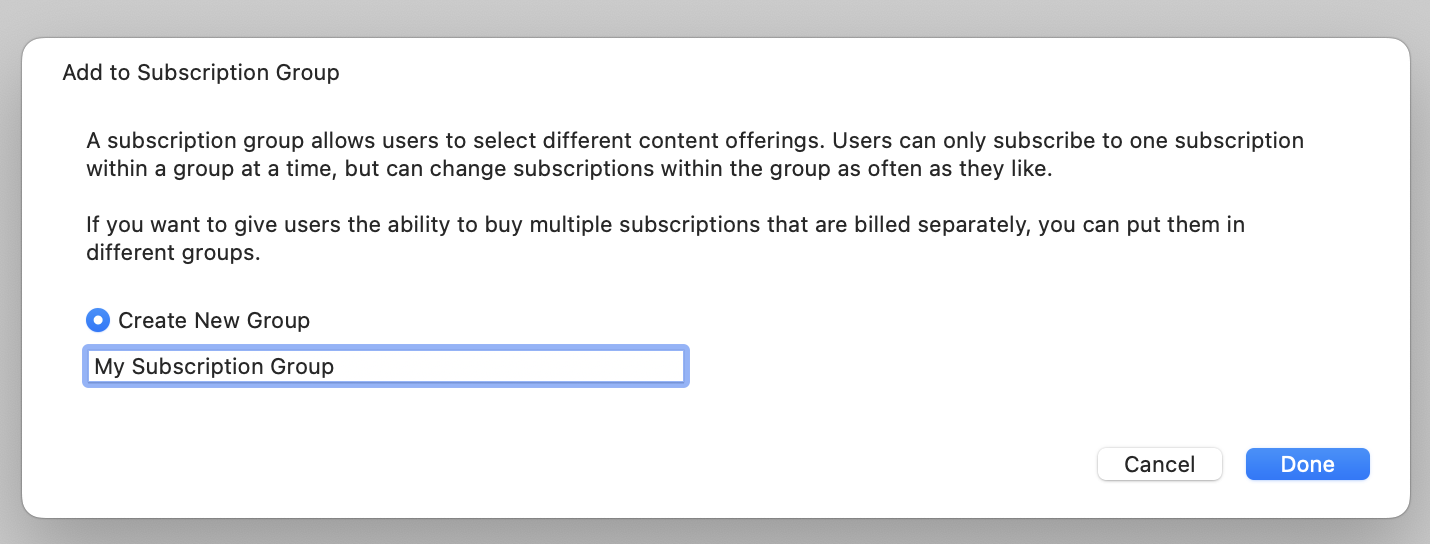
Enter a name for a new subscription group and click Done. The subscription group name should match one that is set up for your app in App Store Connect, but it’s not a requirement. That means you can test your subscription groups and products in the simulator and then create the products in App Store Connect later:
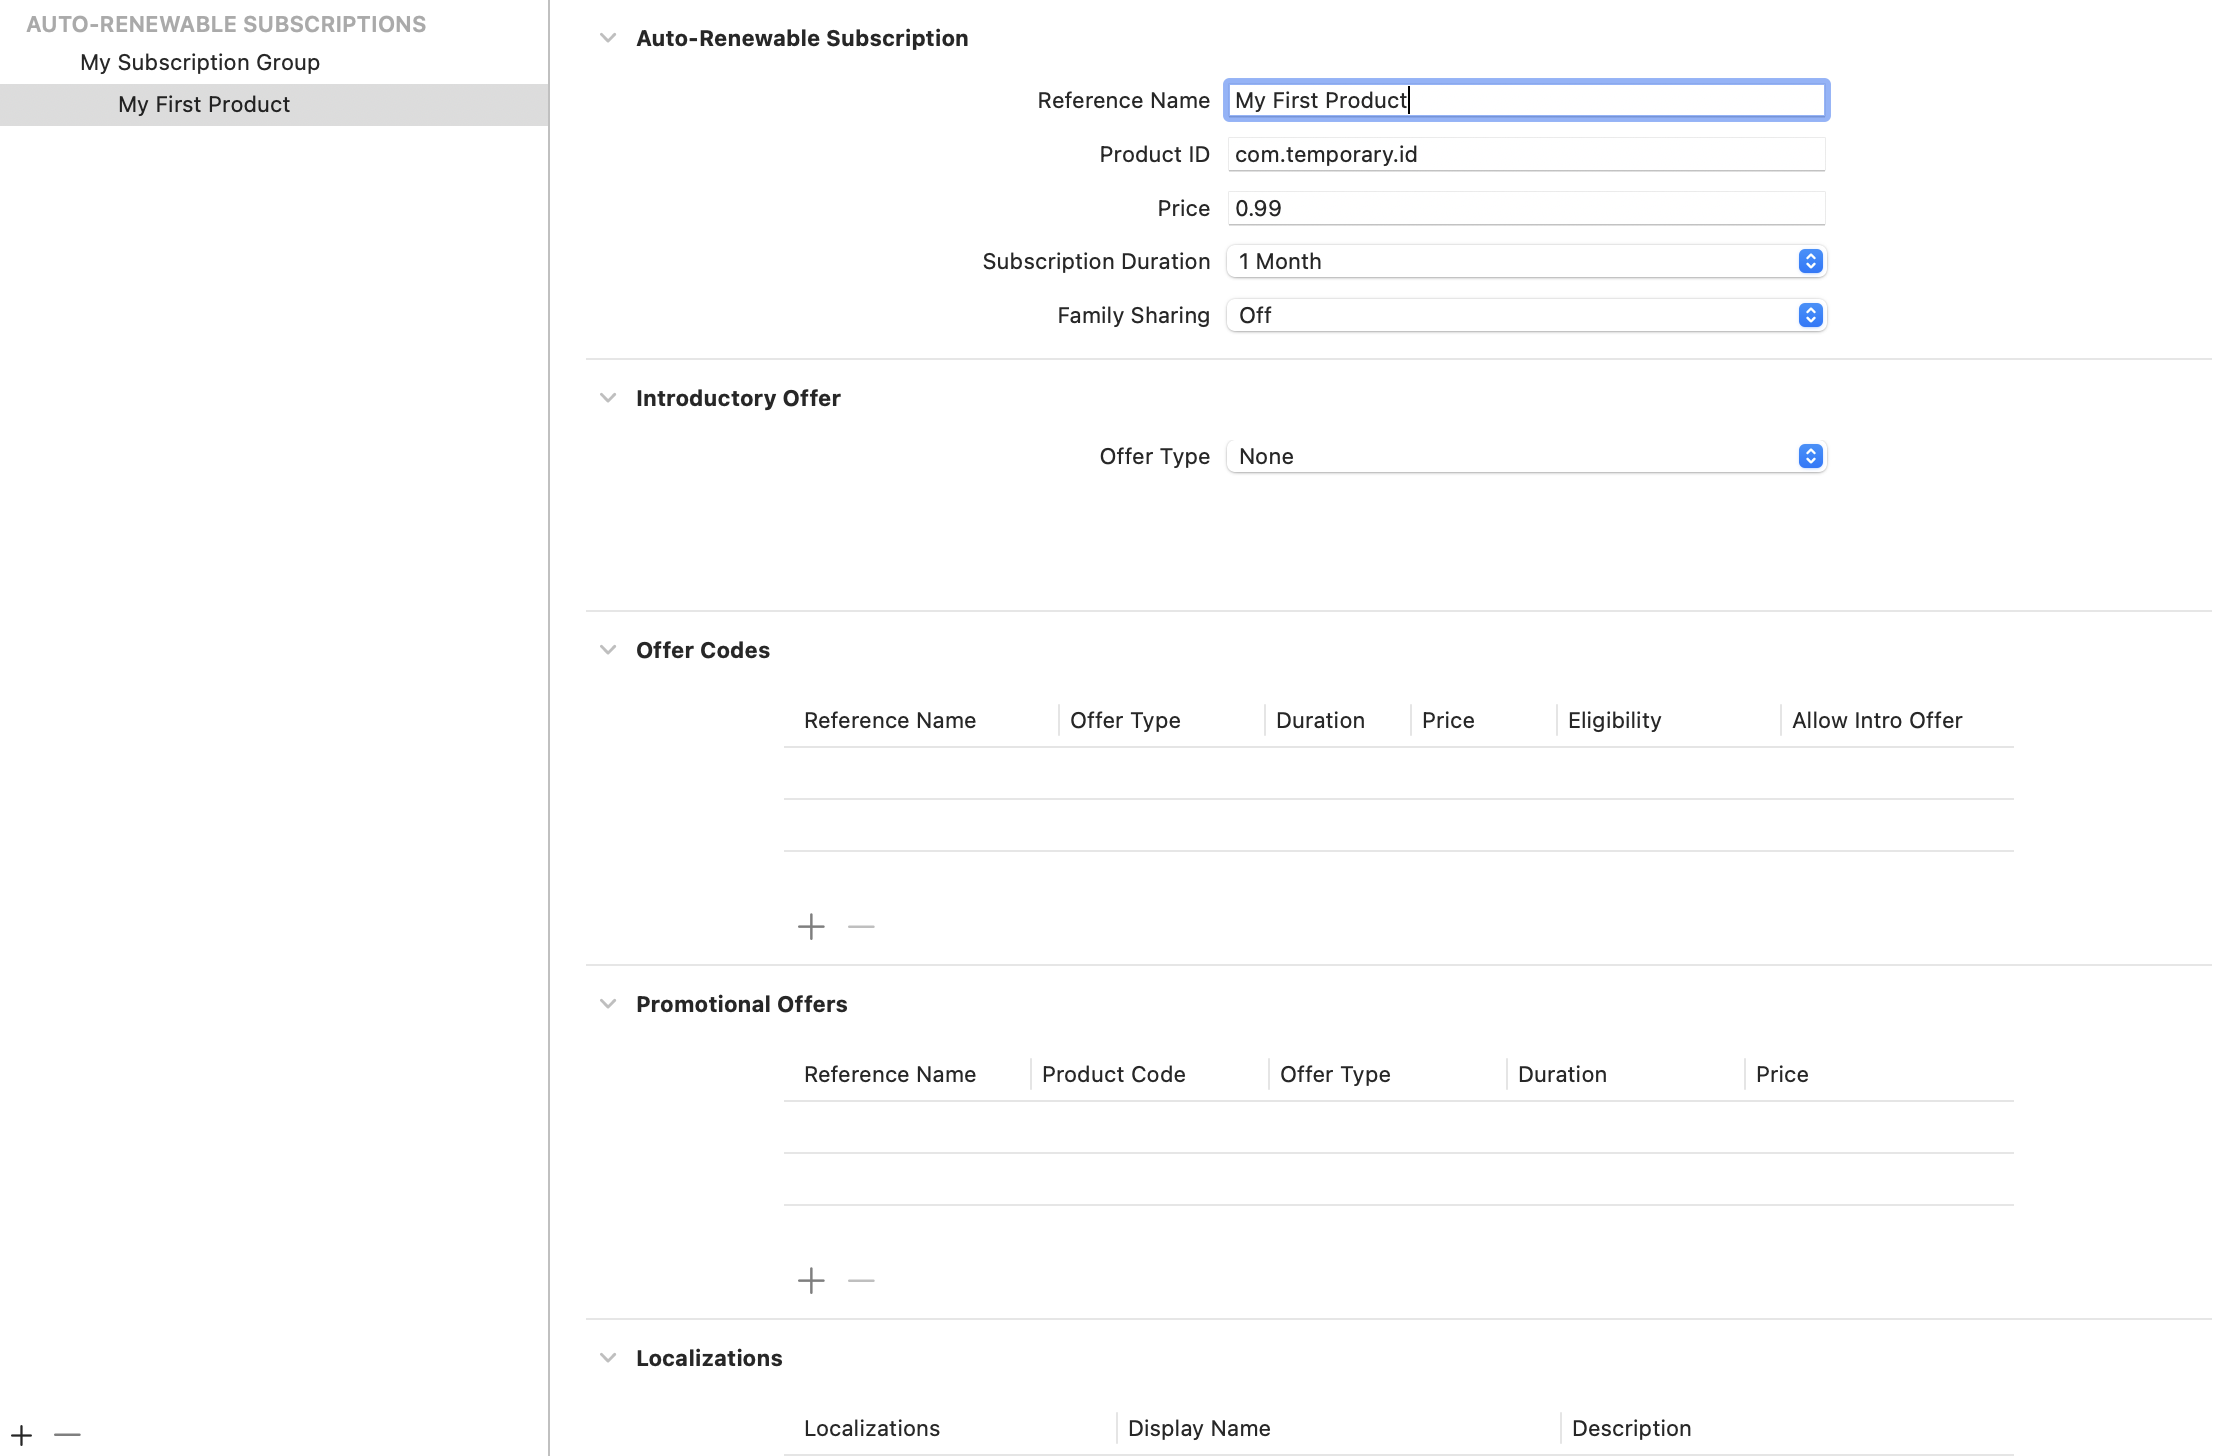
Configure the subscription as needed by filling in the Reference Name, Product ID, Price, Subscription Duration, and optionally an Introductory Offer. Again, this product doesn’t have to exist in App Store Connect for you to test purchasing in the simulator. Here is a sample configuration:
Repeat this for all of your products. When configuring a paywall, the product ID you enter here must match the product ID on the paywall.
You’re now all set!